For instructions on how to install Docker on Ubuntu see my post here: /linux/installing-docker-on-ubuntu-16-04-lts-16-10/
Updated 31/05/17 to include Ping Host and NMAP (NASL wrapper) tests due to feedback around reliability of results without these tests enabled.
Following on from my previous post around MS17-010 / 4013389 vulnerability patching assurance I thought I’d share a more robust scanning and reporting tool that is simple to deploy and use, OpenVAS. The deployment/ configuration of which is made even simpler through the availability of a Docker Image.
Assuming you have an Ubuntu 16.04 server/ client with the docker engine installed, use the following commands to get OpenVas up and running:
docker pull mikesplain/openvas:9

docker run -d -p 443:443 --name openvas mikesplain/openvas:9

# *** Alternatively *** use the host machines IP address rather than the docker0 interface/ a NAT'd address as above.

docker run -d --net host -p 443:443 --name openvas mikesplain/openvas:9
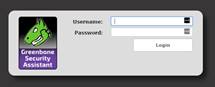
Next, browse to https://<machine IP> and login, using default credentials of admin / admin :
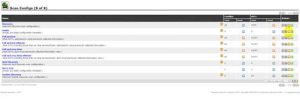
Now, from the top menu, browse to Configuration > Scan Configs

Click the “sheep” (clone) button next to empty
Hit the spanner icon at the top of the window:

Name the Scan Config “MS17-010 Vulnerability Check” or something else meaningful:
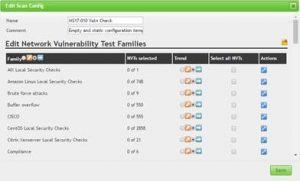
Scroll down to “Windows : Microsoft Bulletins” and hit the spanner icon next to this:
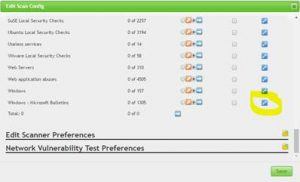
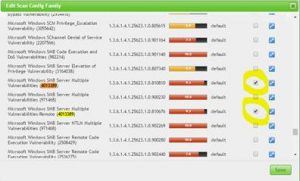
Search for 4013389 (the relevant MS ID), enable all instances for the scan and click save:
As per comments via this post, also enable the Port Scanners | Ping Host and NMAP (NASL wrapper) tests.

Click Save, then click save again.
Now browse to: Scans > Tasks

Click the “Pink Wand” icon: New > Advanced Task Wizard

Name the task and select the new scan config you just created. Specify IP, subnet etc you want to scan. Hit “Create” to start the scan for this specific vulnerability.

Check the reports as the scan progresses, anything identified needs to be patched, or hardened/ isolated if it is older than those O/S editions that this patch was released for.
Happy hunting…
