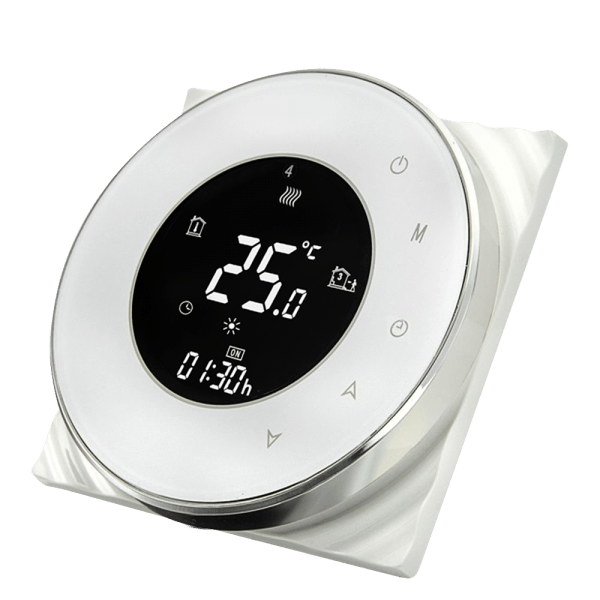
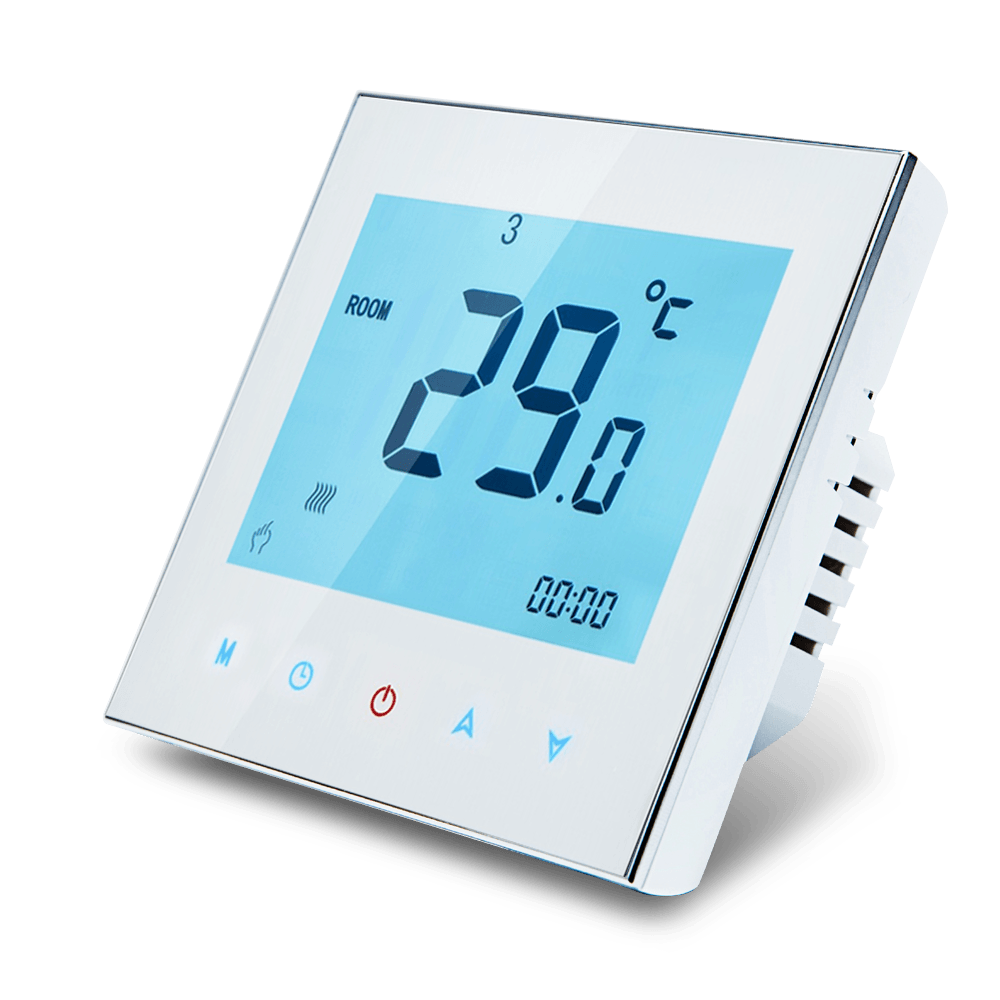
You’re probably wondering why do I want to use a hacked firmware with my thermostat? The primary use case is offline/ non eWelink/ cloud connected usage, as-in leveraging the smart capabilities of the thermostat without having to leverage the cloud to drive it. This also enables you to choose the home automation platform that you use ther thermostat with, for example you can use Home Assistant.

Where to Buy
You can purchase these devices on eBay, AliExpress, Bangood and other auction sites, I’ve also seen them available at some US retailers. These units typically sell for anything between 20-30 Pounds, or about 40 USD at time of writing. With a little time invested you can great ‘big-brand’-like capabilities for a comparatively small outlay.
Look out for:
- Beca BHT1000, BHT3000, BHT6000 (ensure you get a ‘W’ model that has Wi-Fi support!). These are also re-badged as THP-1000, THP-3000, THP-6000.
- Moes House
It’s worth noting that you’ll need both a live and neutral connection to power your thermostat. Unfortunately if you don’t have a neutral you won’t be able to use these devices.
Kit List
To hack your Wi-Fi thermostat you’re going to need:
- A Raspberry Pi 3/4 (this just makes the process easy as you need both Wifi and Ethernet connectivity), running Raspberry Pi OS
- An RJ45 patch cable, connecting your Rasperry Pi to an Internet connection
- A Tuya-based thermostat
We’ll be using the awesome firmware created by Klaus Ahrenberg, well actually a fork of it created by Folke Ashberg, links to the associated repositories are in the description below. In case you’re wondering, the drivers for using Folke’s fork is that there is support for custom NTP configuration and Home Assistant automatic discovery.
Disclaimer

At this stage I should probably remind you that flashing modified firmware to your device will void any remaining warranty. I’ll also add that any wiring should be completed by a competent and qualified electrician (note these two can be mutually exclusive), you potentially risk your life and /or your home, and that’s on you, not me.
Flashing Time
So with the disclaimer out of the way let’s get hacking… actually you can put the soldering iron away, unless you’re a gluten for punishment and then follow the link and stop watching this video! The simplest way to hack your thermostat is to use Tuya Covert, you’ll also find a link to this in the description below.
We’re going to run Tuya Convert on the Raspberry Pi, that by now you hopefully have setup running Raspberry Pi OS. In all honesty any laptop, or other Linux distribution, within reason, will likely work without issue.

Prepare Thermostat
First you need to get the Thermostat into flashing mode, you can do this by powering off the device using the front panel, then holding the ‘down arrow’ for approx. 10 seconds. You’ll know it’s working when the screen / wifi-symbol starts flashing – the Thermostat is now ready/ waiting for instructions.
Install Tuya Convert
Next we’ll move on to installing Tuya Convert on the Raspberry Pi. You’ll find the commands I use in this part of the video in the description below.
We download the latest Tuya-Convert source files using git.
git clone https://github.com/ct-Open-Source/tuya-convert
Next we download the hacked firmware image, ready for flashing to the Thermostat.
cd tuya-convert/files
wget https://github.com/fashberg/WThermostatBeca/releases/download/v1.16.beta5-fas/wthermostat-1.16.beta5-fas.bin
cd ..
Now we install the pre-requisites for Tuya Covert to run.
./install_prereq.sh
Flash the Device
Now, finally(!), we can flash the hacked firmware to the Thermostat itself. Kick-off the flashing process by executing the start_flash.sh script.
./start_flash.sh
When prompted, press Enter to proceed with the flashing process.
It make take a minute or so to progress beyond the Smart Config stage, so just be patient.
Once the Smart Config stage has completed, Tuya Convert will backup the existing firmware, just wait it out, you may be greatful for this back-up in future.
Now the backup has completed we’re presented with firmware images to flash to the Thermostat. Enter the number associated with the image downloaded earlier, for me it was simply a case of entering #3 and pressing enter.
So you’re finally here… the point of no return (well, not quite, but you’ll potentially be soldering). Hit ‘Y’ to continue with the firmware flash, then wait for it to finish.
When the flashing process has completed, you’ll be asked if you want to flash another device… only you know the answer to that question. I did not, so entered ‘N’ and Tuya-Convert cleaned itself up and closed.
Configure the Thermostat
At this point there should be a new Thermostat SSID being broadcast, if not power off the Thermostat as before, hold down the ‘down arrow’ and wait for the backlight/ wifi icon to start flashing.
Using a mobile phone, or other wireless device, connect to this new wireless network, using the password ‘12345678’ – if using an Android device you should be prompted to ‘sign-in’ to the network which will then present the configuration page for the Thermostat.
Hit the ‘Configure Network’ button and then enter your wireless SSID and password.
Enter your wireless network SSID and password. At this stage I’d also suggest disabling MQTT Support, we’ll come to that once we have the device connected to your network. Hit ‘Save Configuration’ and the device will restart, hopefully connecting to your specified network.
You’ll need to identify the IP Address that is provided to the Thermostat as it joins your network. How to do this varies (significantly) by network, so I’ll leave you to figure that out before proceeding.
Once you have the IP address for the device, open a browser on any device connected to the same network, and browse to http://.
Now you’re back to the configuration page return to the ‘Configure Network’ page and enable MQTT support and complete the server/ credentials configuration to match your environment. At this point you can also choose to enable support for Home Assistant Autodiscovery.
Note that if you are using an ACL file on your MQTT server you’ll need to configure this appropraitely.
Hit ‘Save Configuration’ to again restart the Thermostat.
You’re done, and now can integrate the thermostat into your Smart Home platform such as Node-RED (be sure to check out the Alexa and Google Home integration for Node-RED), Home Assistant, OpenHAB etc.