I’ll start by saying that I’m a huge advocate for the Wi-Fi Smart Home. Wireless is ubiquitous and thus the barriers to entry are low. For a good proportion of automation scenarios it is simply “good enough.”

Why Zigbee?
So you’re probably wondering where Zigbee fits then… well for me Zigbee offers flexibility. I’m able to place Zigbee sensors (for example motion sensors or contact sensors) where I have no means to power them, and where Wi-Fi would drain batteries in days or a few weeks at a push (Wi-Fi simply needs more power than Zigbee does).

It’s not about Wi-Fi VS. Zigbee, Wi-Fi OR Zigbee, it’s about Wi-Fi AND ZigBee, and that is where the Sonoff Zigbee bridge comes in.
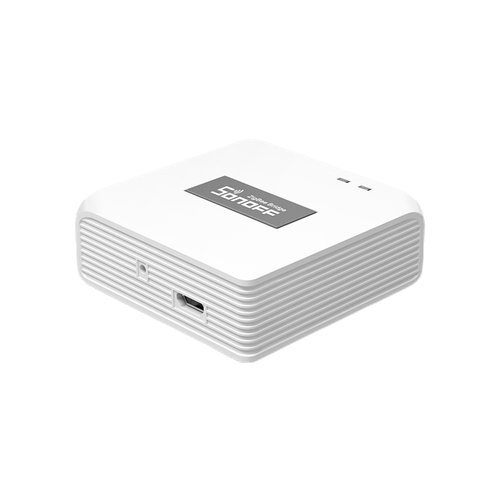
Sonoff Zigbee Bridge
You can pickup a Sonoff Zigbee Bridge for around £10-£15, or $15-$20 at time of writing. eBay, Aliexpress, Bangood all have the device available. ZigBee sensors are also good value, I was able to find Zigbee motion sensors for £6/ $8 and contact sensors for similar money, so in reality you can get up and running without breaking the bank.

The Sonoff Zigbee Bridge connects to your Wi-Fi and enables you to control Sonoff and other vendors’ Zigbee devices with the eWeLink App and Cloud, alongside other Sonoff/ eWelink compatible Wi-Fi devices. You can also use Zigbee devices to trigger/ interact with your Wi-Fi devices – so the possibilities here are really interesting.
Why Tasmota?
The next big question is ‘why Tasmota?’ Reducing complexity in systems makes them easier to maintain in the long-run.

Complex systems, comprised of many different components and the software or services required to support become harder and hader to maintain as they grow. The greater the variation, the greater the complexity.
I use Tasmota across virtually all of the Wi-Fi equipment in my smart home. This means that I’m able to have one update process, and primarily need to know the ins and outs of one solution, instead of several to keep my smart home running.
Flashing Tasmota
Flashing the Zigbee Bridge is pretty simple, thanks to the Open Source Communities behind Tasmota, Tasmotizer and Zigbee2Tasmota.
- First, pull away the rubber feet on the rear of the bridge, revealing the four screws. Remove the screws to open the bridge, then gently free the PCB.
- Turn the PCB over and identify the location of the ETX, ERX, IO0, GND and 3v3 connection points. You can push breadboard cables through the connection points, meaning this is a solder-free flashing process. Note that dupont cables will not fit.
- When ready, connect the FTDI adapter to you PC/ laptop, ready to flash Tasmota.
- Next. download the specific Zigbee Bridge Tasmota binary and flash with Tasmotizer.
| ZbBridge | FTDI Adapter |
| ETX | RX |
| ERX | TX |
| IO0 | GND |
| GND | GND |
| 3V3 | 3V3 |
- Once completed the bridge will restart and a new Tasmota Wi-Fi network will available. Connect to this network using your phone and configure the bridge with your Wi-Fi network SSID and password.
Before proceeding you’ll need to identify the IP address of the Zigbee bridge, likely provided by your router. Once identified, on a device connected to the same network open a browser session and browse to the IP address of the Zigbee bridge.
Flashing the Zigbee Module
At this pont you’d normally be done if this was a traditional Wi-Fi-only module, however we now have to flash the Zigbee module within the bridge.
- Download the Zigbee module firmware and then use the Tasmota GUI to flash this to the Zigbee module.
Tasmota Configuration
You’re now set to configure the device as you would any other Tasmota Wi-Fi device – at the very least set the MQTT server/ credential configuration, friendly name and MQTT topic for your environment.
Zigbee Device Pairing
To pair Zigbee devices, you need set the bridge into pairing mode using the ‘ZbPermitJoin 1‘ Tasmota console command. This will allow pairing for 60 seconds.
Now, on a device such as the Sonoff Zigbee Motion sensor, press and hold the pairing button, then watch the cosole for more pairing confirmation.
And with that we’re done. The bridge is ready, and your Zigbee sensors or devices are paired. It’s time to building your automation(s).