This article is a natural progression of the recent serieis of articles I have published on deployment and configuration of NetScaler VPX devices for load balancing Exchange 2010:
What are VMACs are why use them?
VMAC’s are a useful addition in the NetScaler high availability tool set. In brief a VMAC creates a virtual MAC address that can ‘failover’ between devices. VMACs can be used to compliment the built-in HA or to create an active/active NetScaler pair.
By virtualising the MAC address there is no drop in network connectivity during failovers as the MAC address is shared across NetScaler devices – this means that the CAM table in the upstream switches does not require any update. As a result, failovers between NetScaler devices should be faster and less intrusive with regards to user sessions/connections.
VMAC’s work using a ‘priority’ – the higher priority determines ownership of the VMAC between devices. In a NetScaler HA configuration the priority of the VMAC between devices is the same, without HA it is configurable. For example if we had two NetScalers not using HA, NS1 and NS2, and a single VMAC configured on each we could set NS1 to have a priority of 100 and NS2 to have a priority of 90. NS1 would have ‘ownership’ of the VMAC because of its higher priority.
There are a couple of options when configuring VMAC’s:
- If you are using the built-in NetScaler HA then you will continue to get Active/Passive HA
- If you chose not to use the built-in HA feature then you can get Active/Active HA
One key benefit of using HA as well is that it synchronises the session tables across devices, without HA a failover of VMACs will disconnect Outlook Web Access users as their sessions is lost at failover, with HA sessions are kept, there is just a brief interruption to the user before they can carry on.
It is also possible to assign a VMAC to a single IP address, or group multiple IP addresses into a single VMAC. The first option allows for granularity when assigning ownership as you can assign each VMAC to a device of your choice whereas grouping the IP’s into a single VMAC reduces configuration but also reduces the options you have for splitting traffic. One option could be to group the IP’s into VMACs that represent services, so if you are load balancing multiple services via your NetScalers create a VMAC per service, i.e. Exchange 2010, Citrix Access Gateway etc.
How to Configure VMACs
If you are using the built-in NetScaler HA functionality you only need to perform this configuration on the Primary device.
In this example we’ll define 3 VMAC’s, one for each of the Exchange Virtual Servers we configured in the previous articles.
Create the VMACs
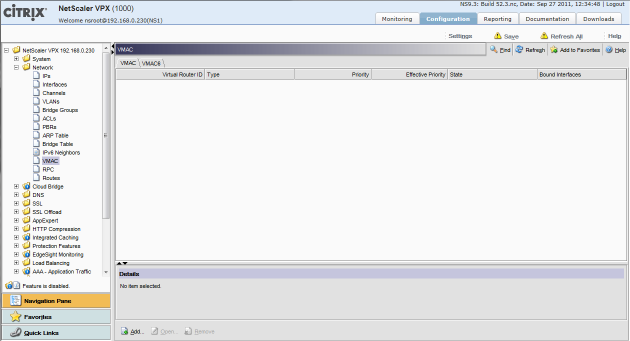
To configure VMACs browse to Network > VMAC and click ‘Add…’ at the bottom of the window:

- Enter a Virtual Router ID, I would normally chose the number from the last octet of the IP address you wish to assign the VMAC to. The choice is yours!
- Do not bind an interface to the VMAC
- Enable Preemption and Sharing
- Click OK

Perform these steps for each VMAC you want to create, if you are NOT using the built-in HA you will also need to define the same VMACs on the secondary device, using different priority. In this example I configures three VMACs (note the state of the VMAC will read INIT until an IP address is bound to the VMAC):

These will be used for the following IP addresses:
-
- 192.168.209.240 – Exchange 2010 OWA Virtual Server IP
- 192.168.209.241 – Exchange 2010 RPC Virtual Server IP
- 192.168.209.245 – Exchange 2010 SMTP Virtual Server IP
One other thing to consider, if you wish to utilise Active/Active high availability on your NetScaler pair then you should set the VMAC priority accordingly on each device – i.e. some VMACs on the first device should have the highest priority and some VMACs on the second device should have a higher priority. For example, if I was not using HA then I could configure my VMAC as follows in order to share the workload between devices:
NS1
-
-
- VMAC 240 – Priority 100
- VMAC 241 – Priority 90
- VMAC 245 – Priority 100
-
NS2
-
-
- VMAC 240 – Priority 90
- VMAC 241 – Priority 100
- VMAC 245 – Priority 90
-
Remember this only applies if you are NOT using the built-in HA functionality.
Assign the VMACs to IP Addresses
Now we must assign each VMAC to an IP address; browse to Network > IPs.
- Right-click an IP address and select ‘Open’
- In the Virtual Router ID select the VMAC you wish to assign to this IP address

Perform this for each IP address, then confirm the state of the VMAC on each NetScaler device under Network >VMAC.
- In a built-in HA configuration the Primary device should has a state of MASTER, the secondary should have a state of BACKUP.
- In a non-HA configuration ensure that the MASTER and BACKUP state reflects the configuration you want.