VMWare Workstation : Using FreeNAS for Virtualised Windows Clusters
You can obtain a copy of FreeNAS from the following location: http://www.freenas.org/
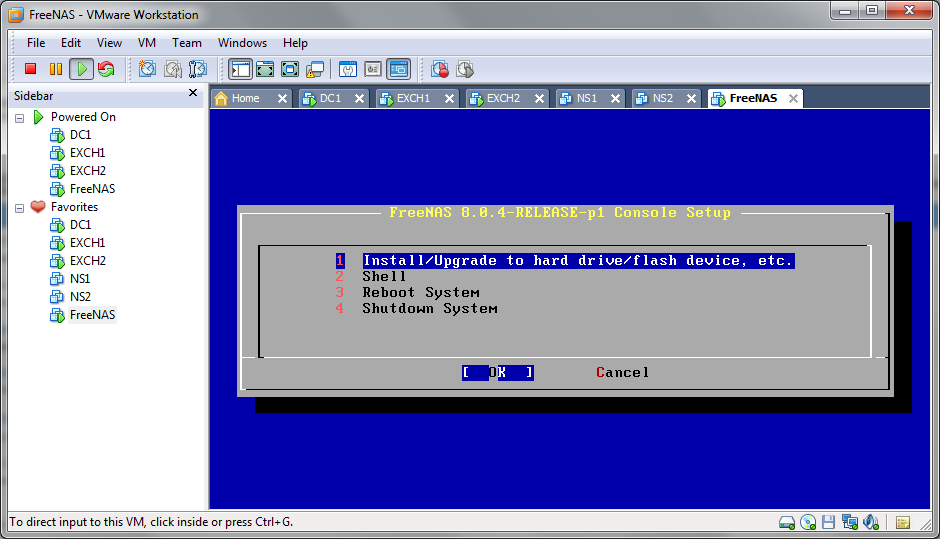
Installation is simple, create a FreeBSD (not 64-bit) VM with a 2GB HDD, 1 vCPU and 1GB of memory. Download the ISO and boot from it – select option 1 to install FreeNAS to the local hard drive.

Confirm the drive you wish to install to, and the prompt to erase all data on the drive.

Wait for the installation to finish, then reboot the VM (I said it was simple!)
You’ll then be prompted to configure the NAS box, – by default FreeNAS support DHCP so if DHCP is available on your network you’ll find the FreeNAS VM already has an IP address:

To configure a static IP address:
- Select Option 1 from the boot menu to configure the IP addressing of the NAS
- When prompted to delete the existing configurtaion type ‘n’
- When prompted for the interface name type ’em0′ (this would have been listed when you entered menu option 1
- When prompted to configure IPv4 type ‘y’
- Enter your IPv4 address, for example: 192.168.0.175/24
- If desired configure IPv6
You can now access the web interface for the FreeNAS VM using the DHCP/static IP address:

Now add your required storage to the FreeNAS VM, we’ll use this to configure the iSCSI drives which will be presented to the Windows 2008 R2 VM’s for clustering.
To be continued….